
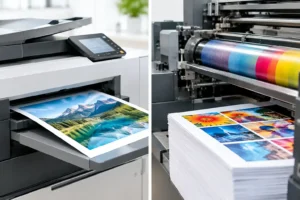
Digital Versus Offset Printing for Your Job
Digital versus offset printing explained for Australian businesses. Compare cost, speed, colour, quantities and the right choice for your next print run.
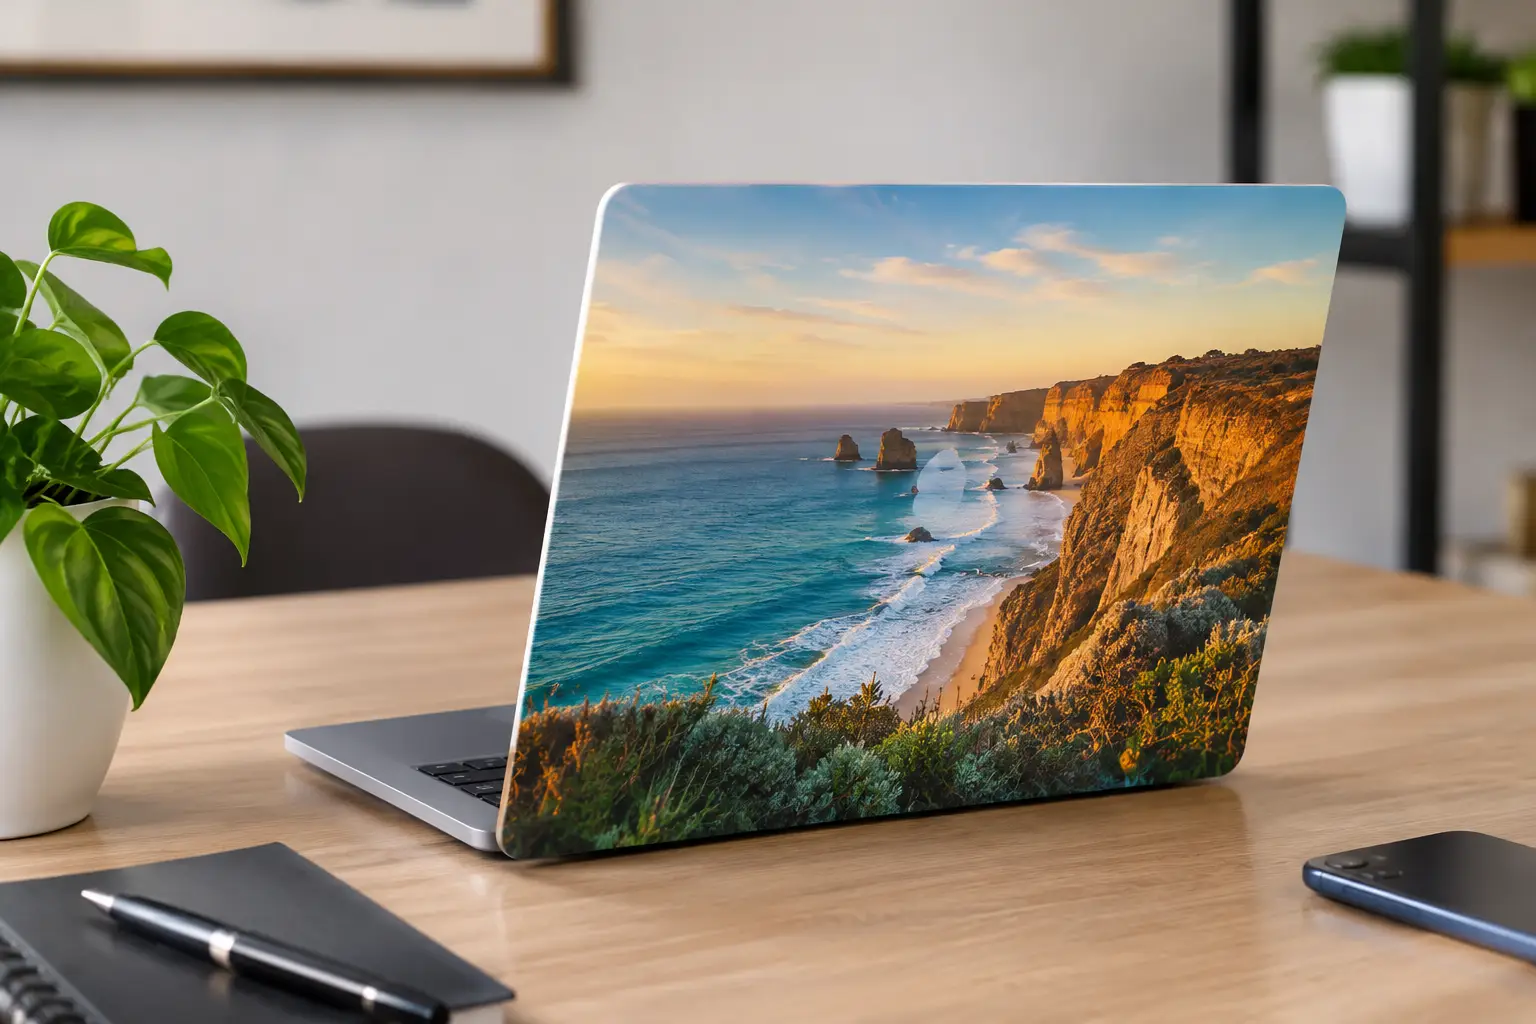
A laptop lid is valuable visual real estate. It goes from the office to the café, training sessions, client meetings and uni lectures, often carrying your brand further than a brochure ever could. With custom laptop decals, Australian buyers can make that space work harder, whether the goal is a sharp company look, a limited-run event giveaway or a design that simply feels like yours.
The difference between a decal people keep and one they regret is rarely the artwork alone. Material, finish, sizing and adhesive all matter. Get those right before printing and your laptop decal can look intentional from day one, not like an afterthought that lifts at the corners.
Laptops are handled constantly. They are slipped into bags, wiped down, left in warm cars and opened and closed dozens of times a day. A decal needs to stand up to that use while still looking clean on a curved or textured lid.
Paper stickers have their place for packaging and short-term promotions, but they are usually not the smart choice here. Premium vinyl is better suited to laptop use because it is made for a tougher life. It handles scuffs and moisture far better, and it keeps colours looking crisp when the laptop is on the move.
The other decision is permanence. A business issuing matching laptops may want a high-tack option that stays put. Someone personalising a new device, or adding campaign branding for a short period, may prefer a removable decal that can be taken off more cleanly later. There is no single best choice. It depends on the surface, the expected lifespan and whether the laptop will be passed on or traded in.
Start with the job the decal needs to do. For a brand, the design should be readable from a few metres away. A logo, short tagline or recognisable icon normally beats a crowded layout full of small copy. Laptop lids are viewed at angles, not studied like a flyer.
For personal decals, shape can do more of the talking. Die-cut decals follow the outline of your illustration, lettering or mascot, giving the finished piece a more polished feel than a basic rectangle. They work especially well for artists, clubs, schools, musicians and local businesses selling branded merch.
Clear decals are another strong option when you want the laptop’s original colour to show through. They suit simple logos, window-style graphics and designs with a light touch. If your artwork includes white lettering or pale colours, ask for white ink underneath those areas. Without it, light elements can lose contrast on a dark laptop lid.
A metallic gold or silver finish can add impact for premium launches, awards or special event packs, but use it with purpose. Fine text and highly detailed images can become harder to read when reflective material is involved. Bold linework, simple type and considered negative space will get the best result.
Not every laptop lid behaves the same way. Smooth aluminium and glossy plastic are generally straightforward. Soft-touch coatings, heavy texture, rubberised finishes and worn surfaces can be more challenging, particularly when a decal has lots of narrow points or thin lettering.
If the laptop has a textured lid, a design with a little more solid area is often the safer choice. Small detached pieces and intricate cut lines have more edges that can catch during daily use. Clean the surface first, let it dry completely, and avoid applying the decal over dust, oils or cleaning-product residue.
Do not place decals over vents, ports, hinges, cameras, serial numbers or asset labels that your IT team needs to access. A well-placed decal should add personality or visibility without getting in the way of the device doing its job.
The best laptop decal is rarely the biggest one possible. A full-lid graphic can look brilliant for a campaign or a fleet of staff devices, but it needs careful measurement and confident artwork. For most uses, a centred logo or a die-cut design that leaves a clear border around the lid looks more refined.
Measure the usable flat area, not just the entire lid. Leave breathing room around rounded corners, logos, hinges and raised features. If you are fitting several stickers, arrange them before peeling the backing. Start with the largest decal, then build the smaller pieces around it rather than trying to fill every empty patch.
For business use, consistency matters. A café group, trade team or real estate office can give staff laptops a cohesive look by using the same logo placement and colour treatment. It is a small detail, but it makes equipment look organised at expos, presentations and site visits.
A file that looks good on a mobile screen is not always ready to print. Low-resolution screenshots can appear soft, especially on logos and text. Where possible, provide a high-quality PDF, AI, EPS or SVG file for logos and vector artwork. High-resolution PNG files can also work well for illustrations and photos.
Keep essential text away from the edge of the design, particularly on die-cut decals. A little clearance protects the message if the cut line follows the shape closely. Strong contrast is also worth checking. Black text on a dark laptop, or pale grey lettering on clear vinyl, may disappear once applied.
Not sure whether your file is ready? That is where artwork support saves time. Fast Stickers can help turn an idea, rough logo or existing file into a print-ready decal and provide proofs for approval before production. It is far easier to adjust scale, colour or cut shape on a proof than after the stickers arrive.
Application is simple, but rushing it creates most problems. Wipe the lid with a lint-free cloth and a suitable surface cleaner, then allow it to dry. Avoid applying decals immediately after the laptop has been in direct sun or a cold car. A clean, room-temperature surface gives you better control.
Position the decal with the backing still on. For larger designs, use a strip of low-tack tape along one edge as a hinge. Lift the decal, remove part of the backing, then press it down gradually from the centre outwards. A plastic card wrapped in a soft cloth can help smooth it into place without marking the surface.
If a small bubble appears, gently work it toward the nearest edge. Do not yank the decal back up once it has been pressed down firmly, particularly with high-tack material. Giving the adhesive time to settle before packing the laptop into a tight sleeve is also a sensible move.
Laptop decals can earn their place in a marketing plan. They are practical additions to welcome packs, conference bags, product launches, staff onboarding kits and community events. Unlike a handout that gets read once, a well-designed decal may stay visible for months.
They can also help with equipment identification. A simple colour-coded mark or department logo makes it easier to spot company devices in a shared workspace. For schools, clubs and volunteer groups, a durable name or group decal can reduce mix-ups without requiring a permanent engraving.
Speed matters when an event date is close. Ordering from an Australian printer means you can focus on approving the artwork and getting the quantity right, rather than waiting on uncertain overseas delivery. Fast production, clear proofs and express shipping are particularly useful when branded materials are one item on a much longer event checklist.
A laptop goes where your customers, colleagues and community can see it. Choose a decal that suits the surface, give the artwork room to breathe, and it will keep making a good impression every time the lid opens.
Digital versus offset printing explained for Australian businesses. Compare cost, speed, colour, quantities and the right choice for your next print run.
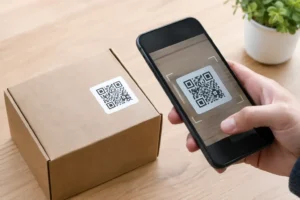
Creating QR code stickers for packaging, shops and events? Get the design, sizing, testing and material choices so every scan works in Australia.
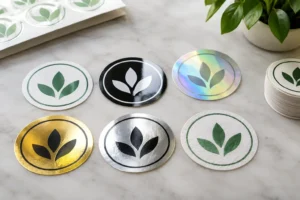
Compare popular sticker finishes for branding, from gloss and matte to clear, metallic and more, so every label, product or promotion looks spot on too.
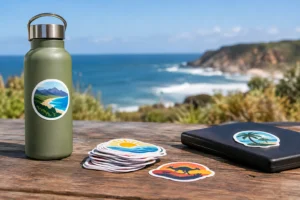
Choose outdoor sticker materials that stand up to sun, rain, salt spray and daily wear, with practical advice for labels, vehicles, windows, gear and more.
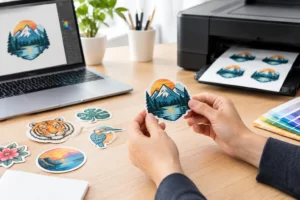
Need a sticker artwork design service? Get print-ready designs, unlimited proof changes and durable custom stickers made for tough Australian weather, promptly.