
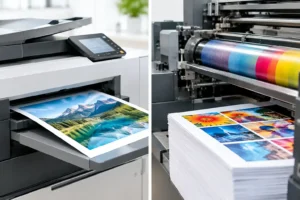
Digital Versus Offset Printing for Your Job
Digital versus offset printing explained for Australian businesses. Compare cost, speed, colour, quantities and the right choice for your next print run.
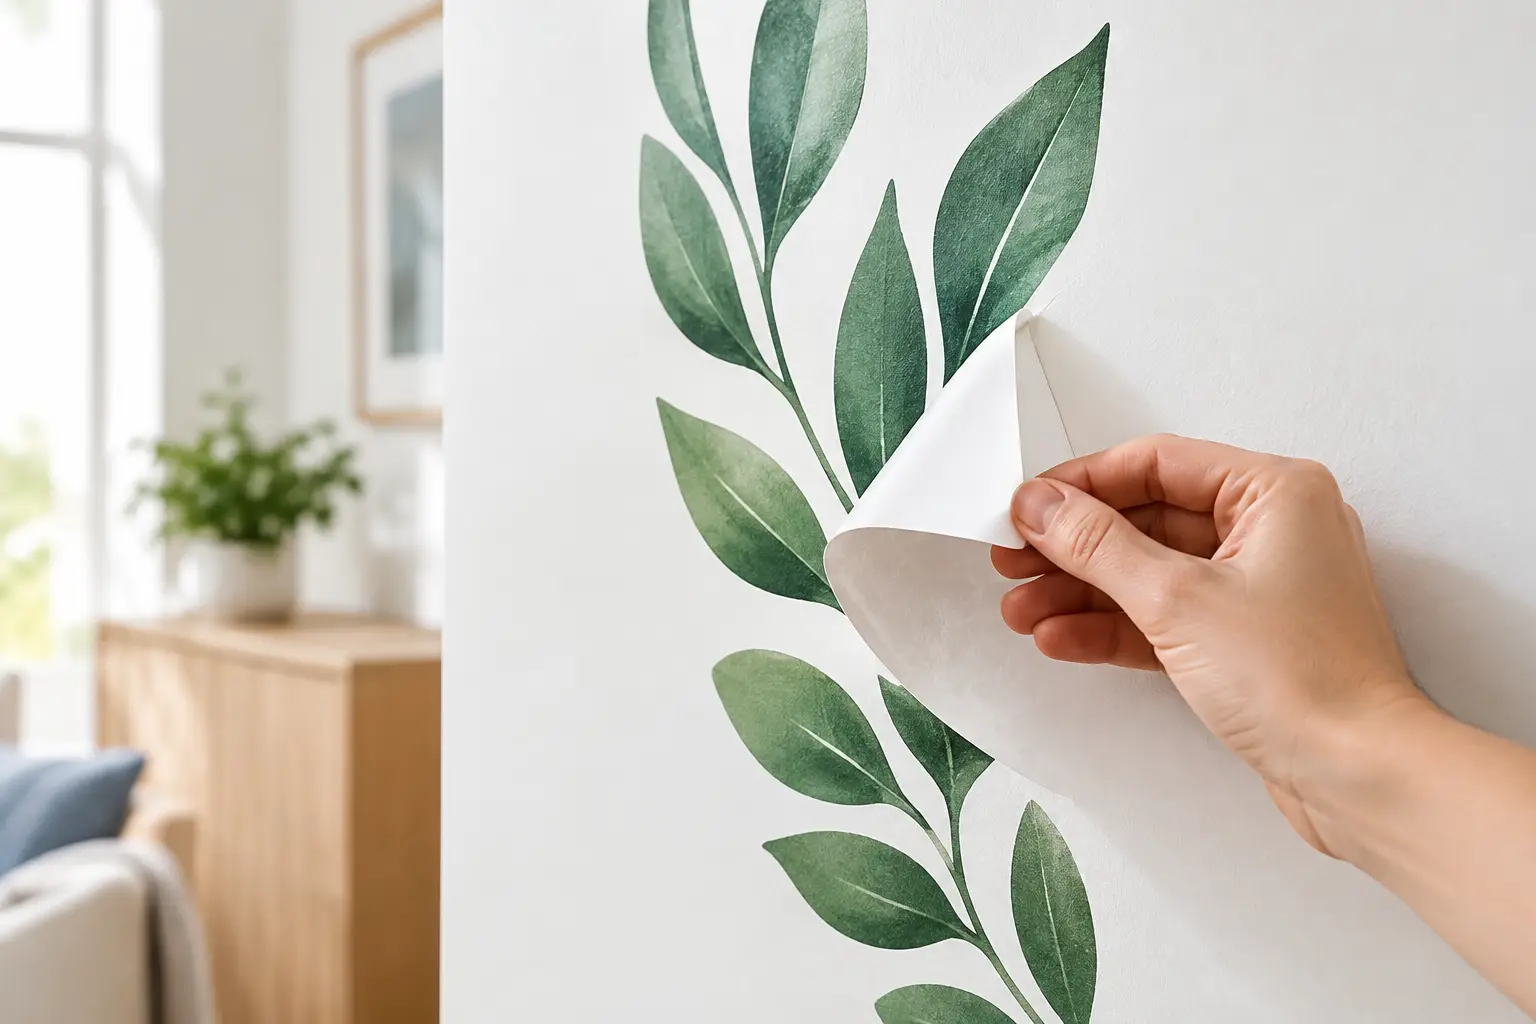
A blank wall can become a menu board, a retail promotion, a party backdrop or a branded reception space in minutes. Removable stickers for walls make that flexibility possible – provided you choose the right material, apply it properly and set realistic expectations about the surface underneath.
For businesses, they are a practical way to refresh a space without committing to permanent signage. For renters, event organisers and parents, they offer colour and personality that can be changed when the season, celebration or room changes. The goal is simple: a sticker that stays put while you need it, then comes away as neatly as the wall allows.
Removable wall stickers suit jobs with a clear end date. Think short-term retail campaigns, seasonal window-and-wall displays, exhibition stands, open homes, pop-up activations and temporary wayfinding. Cafes can use them for limited menus or weekend events, while salons and clinics can update service messaging without repainting a feature wall every few months.
They also work brilliantly in personal spaces. A child’s birthday backdrop, a personalised nursery quote, party decals, classroom displays and home-office branding can all look considered without becoming a permanent fixture. If you are leasing, removable options are especially useful, but always check your rental agreement before applying anything to painted walls.
The key trade-off is durability versus removability. A sticker designed to grip hard in punishing outdoor conditions is not usually the best choice for a surface you want to restore later. Removable adhesive is made for flexibility, not for every high-contact or exposed application.
The word “removable” does not mean one material will behave identically on every wall. Paint type, wall texture, age, dust, moisture and heat all affect the result. A newly painted wall, for example, needs time to cure fully before any sticker is applied. Applying too soon can cause the adhesive to bond unpredictably or pull at soft paint when removed.
Start with the finish of the wall. Smooth, sealed interior walls generally give the cleanest application and removal. Lightly textured painted walls can work, but fine details may not sit perfectly across the uneven surface. Brick, rough render, flaky paint and heavily textured plaster are more challenging. In those cases, a removable sticker may lift at the edges, show gaps or be difficult to remove cleanly.
Consider the size, too. One large graphic can create a strong visual statement, but it needs more care during installation and can be harder to reposition. Smaller individual decals are easier to apply, replace and distribute around a room. For a retail campaign that changes often, separate pieces can be more practical than one oversized design.
For an indoor wall project, focus on these four questions before ordering:
Answering these upfront prevents the most common disappointment: choosing a sticker based only on how it looks on screen.
Wall graphics are rarely read from 20 centimetres away. A customer walking past a shop display, or a guest entering an event, needs to understand the message at a glance. Keep the main message large, use strong contrast and avoid squeezing too much copy into the design.
For business walls, a logo, short offer, QR code and clear call to action will often outperform a crowded layout. If your sticker is for an event or celebration, names, dates and a bold central graphic usually have more impact than intricate detail. Fine text can still work, but it needs enough size and contrast to remain legible.
Not sure whether your artwork is ready? A print-ready file is helpful, but it is not essential. Fast Stickers can help turn a rough idea, logo or supplied artwork into a production-ready wall sticker proof before printing.
Good preparation takes only a few minutes and makes a major difference. Wipe the area with a clean, dry microfibre cloth to remove dust. If there are marks or grease, clean gently using a suitable wall-safe method, then allow the surface to dry completely. Avoid applying over damp walls, fresh paint, powdery surfaces or areas with peeling paint.
Measure the placement before peeling anything. Use a tape measure and low-tack painter’s tape to mark the top edge or centre point. Step back several metres and check the position from the angle people will actually see it. This is especially worthwhile for shopfront interiors, reception walls and party backdrops, where a sticker that is just slightly off-level becomes obvious quickly.
Room temperature matters as well. Very cold surfaces can reduce initial tack, while heat and direct sunlight can make vinyl more difficult to handle. A clean, dry indoor space at a moderate temperature is the easiest environment for application.
For small decals, peel back a small section of the backing paper, position the top edge, then press the sticker down gradually. Use a squeegee or a clean soft cloth to work from the centre outward. Keep peeling the backing away a little at a time rather than removing it all at once.
Larger wall stickers benefit from a second pair of hands. Hold the graphic taut without stretching it, secure the alignment at the top, then apply steadily in sections. Slow and even pressure is more useful than rushing. If a bubble appears, stop and work it towards the nearest edge with the squeegee.
Avoid forcing a sticker into deep wall texture or around sharp corners. It may look fine initially, but edges can lift as the material relaxes. For a long campaign, check the edges after the first day and press down any areas that need attention.
When it is time for a change, start at a top corner and peel slowly at a low angle, pulling the sticker back over itself rather than straight out from the wall. Slow removal reduces stress on both the sticker and paint. If the room is cold, gentle warmth from a hair dryer held at a safe distance can soften the adhesive slightly.
Do not yank, scrape aggressively or use harsh solvents on painted walls. If adhesive residue remains, test any cleaning method on an inconspicuous area first. The wall’s condition before application matters here: older paint, poor-quality paint, unsealed surfaces and existing damage can still lift or mark, even with a removable product.
That is why a small test decal is a smart move for premium paintwork, recently renovated spaces or large-scale installations. It gives you a real-world read on adhesion and removal before committing to a full wall graphic.
Temporary does not have to look temporary. A well-designed removable wall sticker can make a pop-up shop feel established, turn a plain event venue into a branded experience or give a product launch a clear visual centre. Match the colours to your existing packaging, signage and social assets so the space feels intentional rather than improvised.
For campaigns that move quickly, plan the wall graphic at the same time as your flyers, labels and counter signage. You will save approval time, keep the message consistent and avoid the last-minute scramble for mismatched print materials.
Choose the surface carefully, allow enough time for clean installation, and your next wall sticker can do its job brilliantly – then leave room for whatever is next.
Digital versus offset printing explained for Australian businesses. Compare cost, speed, colour, quantities and the right choice for your next print run.
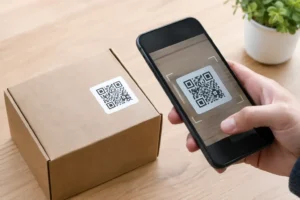
Creating QR code stickers for packaging, shops and events? Get the design, sizing, testing and material choices so every scan works in Australia.
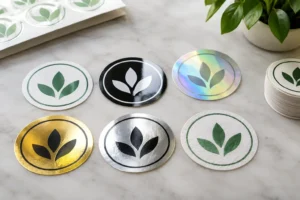
Compare popular sticker finishes for branding, from gloss and matte to clear, metallic and more, so every label, product or promotion looks spot on too.
Choose outdoor sticker materials that stand up to sun, rain, salt spray and daily wear, with practical advice for labels, vehicles, windows, gear and more.
Need a sticker artwork design service? Get print-ready designs, unlimited proof changes and durable custom stickers made for tough Australian weather, promptly.