Digital Versus Offset Printing for Your Job
Digital versus offset printing explained for Australian businesses. Compare cost, speed, colour, quantities and the right choice for your next print run.
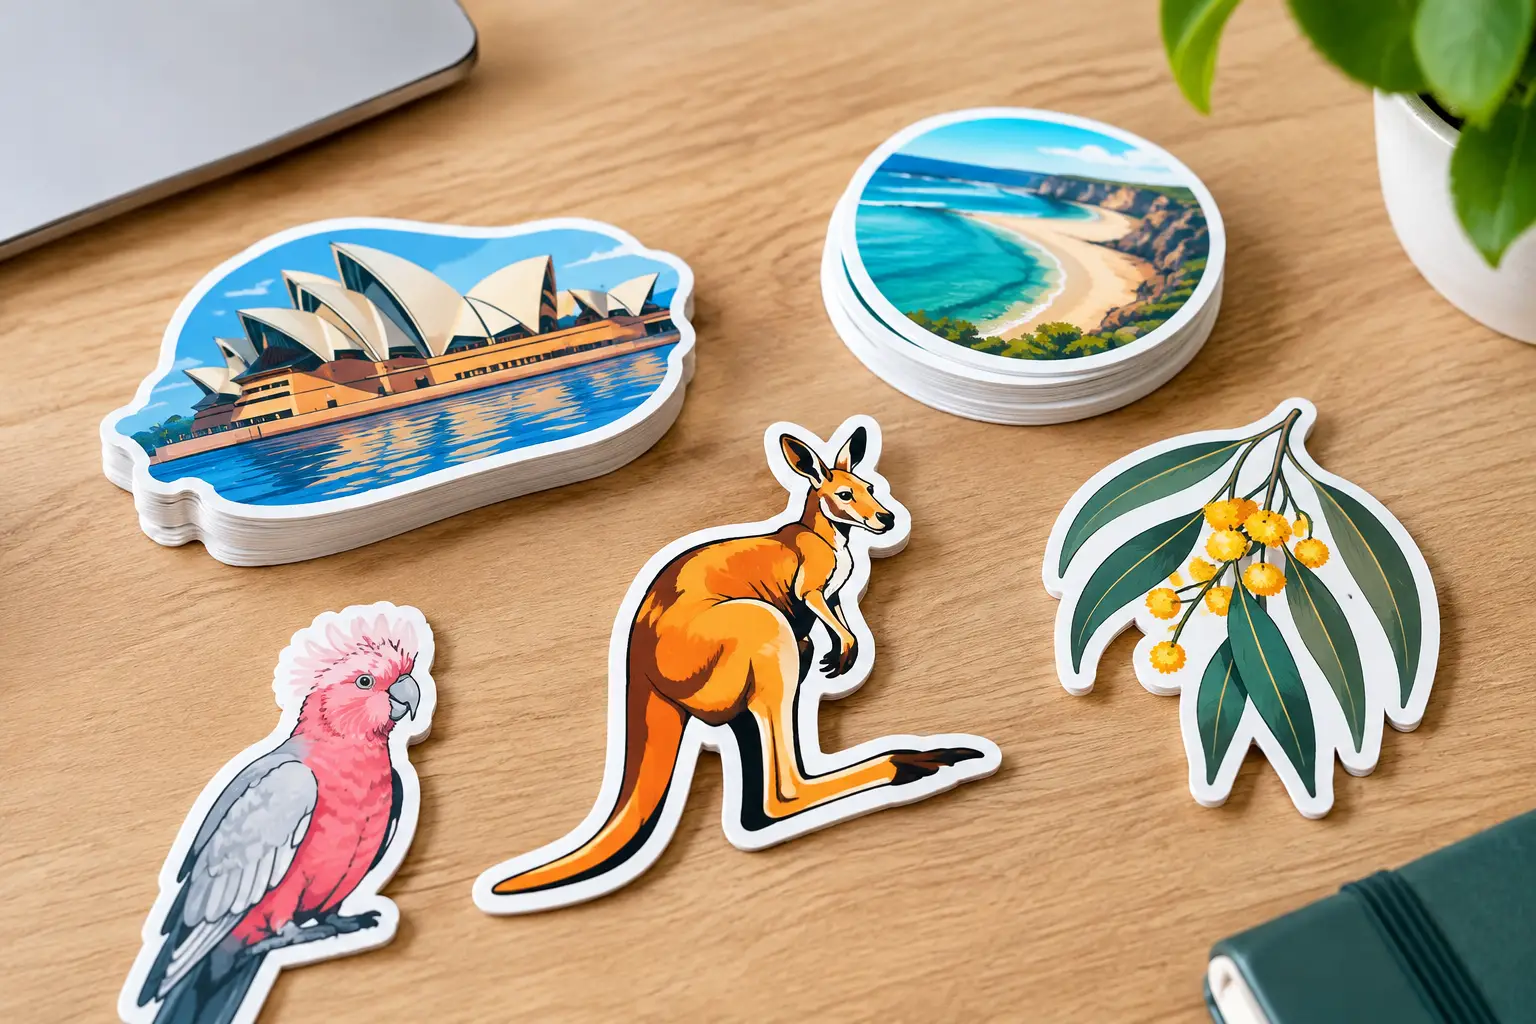
A sticker that follows the exact outline of your logo gets noticed faster than a standard square label. That is the appeal of die cut stickers Australia businesses, clubs and creators use to make their branding feel more considered. Whether they are going on product packaging, a tradie’s ute, event giveaways or a laptop, the shape becomes part of the message.
Die cut stickers are cut around the outer edge of your design, rather than being supplied as a basic rectangle, square or circle. A mascot can keep its ears, a bottle-shaped logo can keep its silhouette, and bold lettering can follow every curve. The result looks custom because it is.
A great sticker has a short window to do its job. It needs to catch the eye, communicate who it belongs to and hold up once it is applied. Die cutting helps with the first two jobs before anyone even reads the text. An unusual outline breaks up rows of plain labels on a shelf and gives people a reason to pick it up, stick it on something or hand it on.
For businesses, that extra personality can turn a low-cost printed item into a useful branding tool. Cafes can add a shaped logo sticker to takeaway bags. Brewers can use a hop, can or character-shaped decal for promotional packs. Builders and landscapers can create durable logo stickers for equipment, site boxes and vehicle windows. It is practical marketing that keeps working after the original interaction is over.
They are just as useful outside business. Die cut stickers suit birthdays, hens parties, school fundraisers, sporting clubs and wedding favours because they make a simple design feel personal. A name, illustration or event icon does not have to be squeezed into a stock shape.
The terms sound similar, but they produce different results. A die cut sticker is cut all the way through the sticker material and backing paper. Each sticker arrives as an individual piece in the shape of the design. This is the right option when you want stickers to hand out, include with orders or sell as individual items.
A kiss cut sticker is cut through the vinyl layer only, leaving a larger backing sheet intact. The sticker still has a custom shape, but the backing gives it a border that can make peeling easier. Kiss cut sheets work well for detailed designs, multi-sticker sheets and promotional sets.
Neither is automatically better. If your goal is a clean, collectable decal with no extra border, choose die cut. If you need easy handling for small details or want several designs on one sheet, kiss cut may be the smarter fit. The intended use matters more than the trend.
Shape gets attention, but material determines how long that attention lasts. A sticker for an indoor candle jar does not need the same toughness as one for a boat, tool trailer or wheelie bin. Start by thinking about where it will live, how often it will be handled and what it may be exposed to.
Vinyl is the reliable all-round choice for outdoor-facing work. It is suited to decals on vehicles, water bottles, laptops, equipment and promotional gear, particularly when the sticker needs to cope with sun, rain and regular handling. For an application that needs extra grip, such as textured surfaces or demanding work environments, high-tack material may be a better option.
Clear stickers create a more subtle look on glass, jars and windows. White ink can be added where needed so colours stay bright instead of disappearing into the background. Removable stickers are useful for short-term promotions and temporary window messaging, while static-cling products are designed for glass applications where adhesive is not wanted.
The trade-off is straightforward: choose the material for the job, not just the cheapest starting price. A premium outdoor sticker that stays put and keeps its colour represents your brand far better than one that curls at the edges after a few weeks.
The strongest die cut sticker designs are not always the busiest. The cutting line needs room to follow the artwork cleanly, and viewers need to understand the image from a short distance. If the design will be used on a vehicle, product box or coffee cup, test whether the key message is still clear when viewed small.
Keep fine text away from the edge of the artwork. A little breathing room around letters, icons and borders gives the cutter a safer path and makes the finished sticker easier to read. Very thin lines, tiny points and narrow gaps can be difficult to reproduce consistently, especially at smaller sizes.
Colour choices matter too. High contrast between the logo and its background usually delivers the best result. If your design has a dark outline, white border or bright brand colour, it will generally stand out well on a variety of surfaces. For clear stickers, plan exactly where white ink is needed rather than assuming every part of the design will print the same way.
You do not need to arrive with a polished print file. A clear logo, sketch, photo reference or even a rough idea is enough to start the conversation. Artwork support and proof revisions let you check the shape, spacing and layout before production begins, which is far better than finding a problem after the order arrives.
There is no universal best size. A small logo sticker for a product lid may only need to be 40 mm wide, while a ute decal could be several times larger. Measure the available area rather than guessing, then leave a little clearance around the edges so the sticker does not look crowded.
For giveaways, a size that fits comfortably on a mobile phone case, laptop or drink bottle usually gets more use. For packaging, match the sticker to the scale of the item and make sure any product information remains readable. If the sticker has a QR code, test it at the final printed size before approval.
Fast turnaround starts before the printer receives the artwork. Supply the best version of your logo you have, confirm the quantity and size, and mention the surface or environment if durability is a concern. Those details help identify the right material early, rather than creating a last-minute change.
Once a proof is supplied, check more than spelling. Look at the outer cut line, the size of fine details, colour contrast and whether the sticker suits its intended surface. If the artwork is for a team, client or event committee, get approval from the decision-maker at proof stage. It keeps production moving and avoids the familiar rush when the launch date is suddenly close.
At Fast Stickers, orders are produced in Australia with free artwork assistance, unlimited proof revisions, fast 2-3 business-day production and free express shipping Australia-wide. That combination is especially useful when you need professional stickers quickly but do not have time to manage design files, multiple suppliers and delivery follow-ups.
The best die cut stickers do more than display a logo. They give people something they want to put on their favourite drink bottle, toolbox, laptop or car window. A sharp outline, the right material and a design that stays readable all help make that happen.
Before you order, ask one simple question: would someone keep this if it did not come from my business? Design for that answer, and your stickers have a much better chance of travelling well beyond the first hand they are given to.
Digital versus offset printing explained for Australian businesses. Compare cost, speed, colour, quantities and the right choice for your next print run.
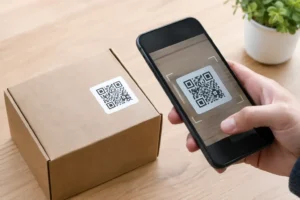
Creating QR code stickers for packaging, shops and events? Get the design, sizing, testing and material choices so every scan works in Australia.
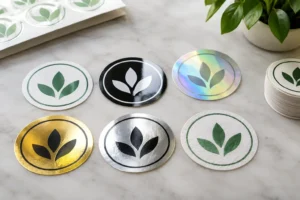
Compare popular sticker finishes for branding, from gloss and matte to clear, metallic and more, so every label, product or promotion looks spot on too.
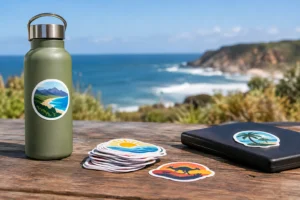
Choose outdoor sticker materials that stand up to sun, rain, salt spray and daily wear, with practical advice for labels, vehicles, windows, gear and more.
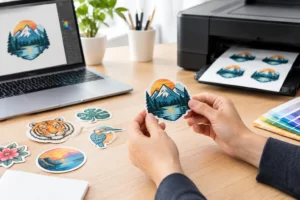
Need a sticker artwork design service? Get print-ready designs, unlimited proof changes and durable custom stickers made for tough Australian weather, promptly.